In the constantly evolving world of hardware and software integration, one of the most talked-about components today is the 35-DS3CHIPDUS3. This chip has gained popularity for its high efficiency, compatibility with a wide range of devices, and user-friendly interface. However, the question that frequently pops up among users is how-to-install-35-ds3chipdus3 properly and safely. This article aims to provide a human-written and unique guide for all users, whether tech-savvy or not, on how to install 35-DS3CHIPDUS3 efficiently.
Understanding What the 35-DS3CHIPDUS3 Is
Before diving into how-to-install-35-ds3chipdus3 , it’s essential to understand what this chip does. The 35-DS3CHIPDUS3 is a sophisticated piece of hardware designed to enhance system performance by providing faster processing speeds, improved device compatibility, and reduced energy consumption. It is often used in advanced computing environments, gaming systems, or embedded system designs.
Knowing its purpose can make the installation process smoother and less intimidating.
Tools and Materials Required
If you’re preparing to learn how-to-install-35-ds3chipdus3, here are the essential items you’ll need:
- 35-DS3CHIPDUS3 unit
- Compatible motherboard or circuit board
- Anti-static wrist strap
- Precision screwdriver set
- User manual or datasheet for reference
- Soldering iron and flux (if soldering is needed)
- Cooling paste or thermal pad (if the chip gets hot)
Make sure your work area is clean, well-lit, and static-free to avoid damaging any components during installation.
Step-by-Step Instructions: How to Install 35-DS3CHIPDUS3
Step 1: Safety First
Before touching the chip or any electronic parts, ground yourself. Use an anti-static wrist strap or touch a metal surface to discharge any static electricity from your body. This is a crucial safety measure when learning how-to-install-35-ds3chipdus3
Step 2: Read the Manual
Most manufacturers include a guide or datasheet with the 35-DS3CHIPDUS3. Read it thoroughly to understand the pin configuration, installation recommendations, and other critical specifications. Each version might have slight variations.
Step 3: Locate the Socket or Solder Points
Depending on your board type, the chip may need to be socketed or soldered. If it’s a socketed chip, identify the matching port. If it’s soldered, locate the precise points for each pin.
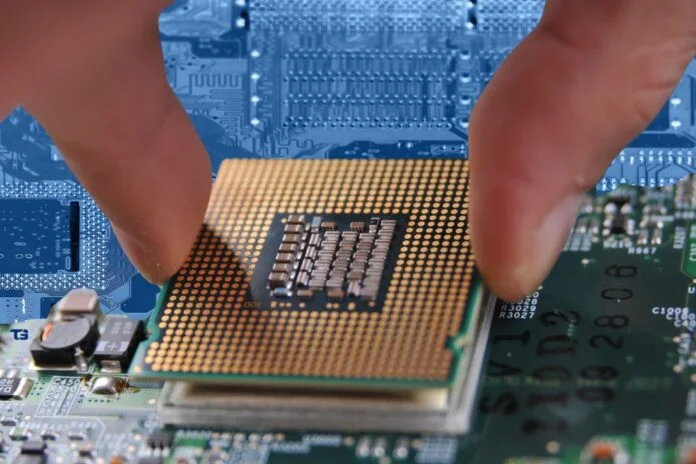
Step 4: Align the Chip Correctly
The 35-DS3CHIPDUS3 usually comes with a notch or dot indicating pin 1. Make sure you align this pin with the corresponding location on the board. A mistake here could damage the chip or the board.
Step 5: Install the Chip
Now comes the core part of how-to-install-35-ds3chipdus3:
- Socketed Installation: Gently press the chip into the socket. Don’t use excessive force.
- Soldered Installation: If soldering, apply a minimal amount of solder and flux to each pin carefully. Don’t overheat the chip.
Step 6: Add Thermal Compound (If Required)
For systems generating high heat, apply a thin layer of thermal paste or install a thermal pad to maintain cooling efficiency.
Step 7: Test the Installation
Power on your device and verify that the system recognizes the chip. Check BIOS settings or run diagnostic software to confirm the 35-DS3CHIPDUS3 is functioning correctly.
Common Mistakes to Avoid
When figuring out how to install 35-DS3CHIPDUS3, here are common pitfalls you must steer clear of:
- Incorrect Pin Alignment: Installing the chip backward can cause irreversible damage.
- Skipping the Manual: Even if you’ve done similar installations, each chip model can be different.
- Neglecting Static Precautions: Static discharge can silently ruin the chip.
- Overusing Solder: Too much solder can create bridges and short circuits.
- Failing to Check Compatibility: Always verify that your device supports the 35-DS3CHIPDUS3.
Troubleshooting After Installation
If you’ve followed all the steps on how to install 35-DS3CHIPDUS3 but it’s not working, don’t panic. Here’s what you can do:
- Double-check pin alignment.
- Reinspect solder joints for cold or missed connections.
- Try the chip in another board, if available.
- Consult support forums or the manufacturer’s website for device-specific troubleshooting.
Tips for a Smooth Installation Experience
To make your experience of learning how to install 35-DS3CHIPDUS3 seamless, follow these extra tips:
- Use magnifying tools for better visibility during soldering.
- Keep a can of compressed air nearby to clean dust or debris.
- Label your wires and sockets to avoid confusion.
- Backup any important data before modifying internal hardware.
Advantages of Proper Installation
When you master how to install 35-DS3CHIPDUS3 correctly, you unlock several benefits:
- Boosted system speed
- Enhanced power efficiency
- Greater stability for demanding applications
- Extended hardware lifespan
- Improved compatibility across platforms
Final Thoughts
Installing a high-performance chip like the 35-DS3CHIPDUS3 might seem intimidating at first. But once you understand the steps involved, it’s a straightforward task that brings significant performance enhancements to your system. By following this detailed guide on how to install 35-DS3CHIPDUS3, you ensure not only a successful installation but also long-term reliability and functionality of your device.
Remember, patience and precision are key. Don’t rush, double-check every step, and soon enough, you’ll become confident in how to install 35-DS3CHIPDUS3 like a pro.
No Responses